Are you ready to create a dessert that will leave everyone in awe? A Barbie cake is a spectacular centerpiece, combining creativity and sweetness into one unforgettable treat. Not only is it a popular choice for children’s birthday parties, but it’s also an excellent opportunity to showcase your baking and decorating skills. Whether you are an experienced baker or just starting out, this guide will show you step-by-step how to make a stunning Barbie cake.
A Barbie cake uses a doll as its centerpiece, with the cake forming her elegant gown. Moreover, the design is fully customizable, allowing you to play with colors, patterns, and decorations. By the time you finish reading this guide, you’ll feel confident enough to create a masterpiece that will impress both kids and adults alike.
What Is a Barbie Cake?
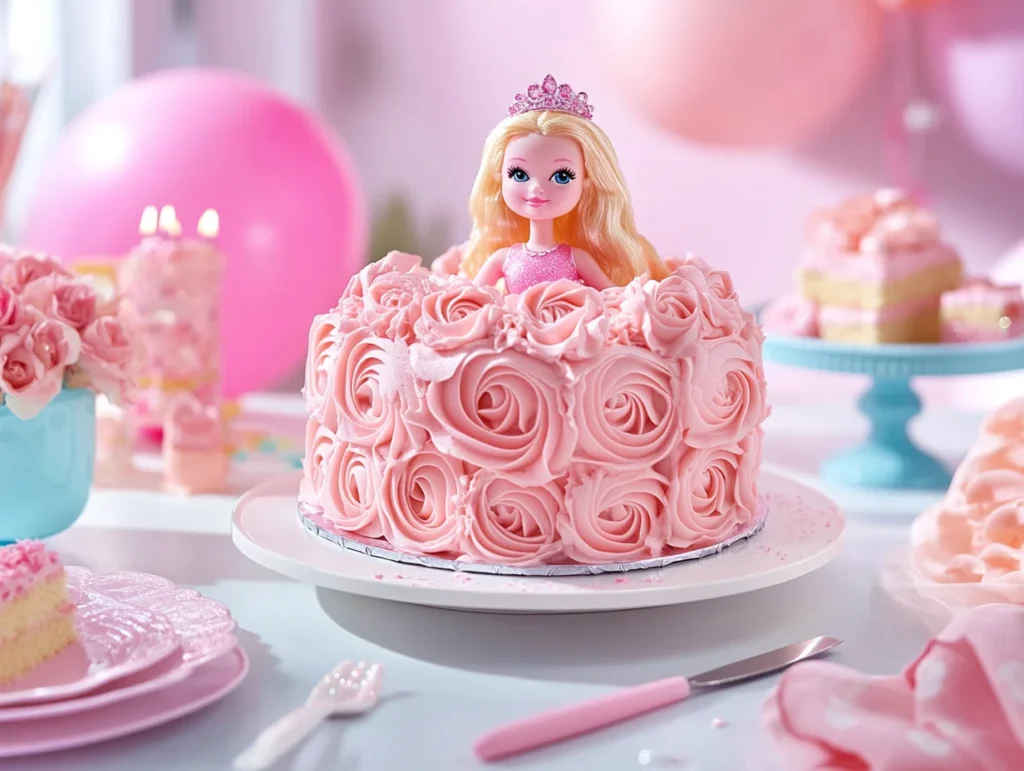
A Barbie cake is more than just a dessert—it’s a work of art. Essentially, the cake is shaped like a doll’s skirt, with a Barbie or similar doll standing in the center. Using frosting, fondant, and edible decorations, you can transform a simple cake into a glamorous creation. This type of cake is especially popular for children’s birthdays because it adds an interactive and visually exciting element to the celebration.
What makes a Barbie cake truly unique is its versatility. For instance, you can match the design to the birthday party theme, choose the recipient’s favorite colors, or experiment with trendy styles like ombre or rosettes. Furthermore, whether you prefer a simple design or an elaborate one, the Barbie cake is guaranteed to be a showstopper at any celebration.
Ingredients and Tools Needed for Your Barbie Cake
Before diving into the process, it is crucial to gather all the necessary ingredients and tools. Having everything prepared in advance will save you time and make the entire experience much smoother.
Ingredients:
- Cake Layers: You’ll need 2-3 layers of cake. Vanilla, chocolate, or strawberry are popular choices, but any flavor will work well.
- Frosting: Buttercream or cream cheese frosting is highly recommended. Plan for about 4-5 cups to cover and decorate the cake.
- Food Coloring: Pink and complementary colors to match your Barbie theme.
- Decorations: Sugar pearls, edible glitter, sprinkles, or marshmallow flowers for added flair.
- Doll: A Barbie or similar doll with legs wrapped in plastic wrap to keep them clean.
Tools:
- Cake Pans: A bundt pan works best for shaping the skirt; however, round pans or Pyrex bowls can also be used.
- Piping Bags and Tips: Star and rosette tips are perfect for creating detailed designs.
- Revolving Cake Stand: This will make frosting and decorating much easier.
- Spatula and Knife: For spreading frosting and leveling cake layers.
- Serrated Knife or Cake Leveler: To ensure smooth, even layers.
For additional help with decorating techniques, you can refer to these cake decorating tips and tools for beginners.
Step-by-Step Guide to Making a Stunning Barbie Cake
To create a stunning Barbie cake, follow these steps carefully: bake the cake layers, assemble them, and finally decorate the gown. With patience and a little creativity, you’ll end up with a beautiful cake that is both delicious and visually striking.
Step 1: Bake the Cake Layers
The first step in making your Barbie cake is baking the layers. Depending on your preference, you can either use a homemade recipe or a boxed mix. Regardless of your choice, make sure the cake is sturdy enough to hold its shape when stacked.
Start by preheating your oven to 350°F (175°C). Next, grease and flour your cake pans to prevent sticking. Once the batter is ready, divide it evenly among the pans. A bundt pan is ideal because it naturally creates the skirt shape. However, if you’re using round pans, you’ll need to carve the layers later to create the desired shape. Bake the cakes according to your recipe’s instructions, usually for 25-35 minutes. After baking, let the cakes cool completely before removing them from the pans. Cooling is essential to avoid crumbling during assembly.
If you’re using round pans, trim the edges to form a dome shape. On the other hand, a bundt pan eliminates this step, making the process much quicker and easier.
Step 2: How to Assemble Your Doll Cake for a Perfect Finish
Once your cakes are baked and cooled, it’s time to stack and assemble them. This step involves leveling the layers, stacking them securely, and inserting the doll.
First, level each layer with a serrated knife or cake leveler to ensure even stacking. Then, place the first layer on a cake stand or serving plate. Spread a thin layer of frosting on top to act as glue for the next layer. Afterward, continue stacking the layers, applying frosting between each one. If you’re using round layers, carve the sides into a dome shape to mimic the Barbie skirt.
Once the layers are stacked, hollow out the center of the cake. Carefully wrap the Barbie doll’s legs in plastic wrap and insert her into the center. Make sure she stands upright and is well-supported by the cake.
Step 3: Apply a Crumb Coat
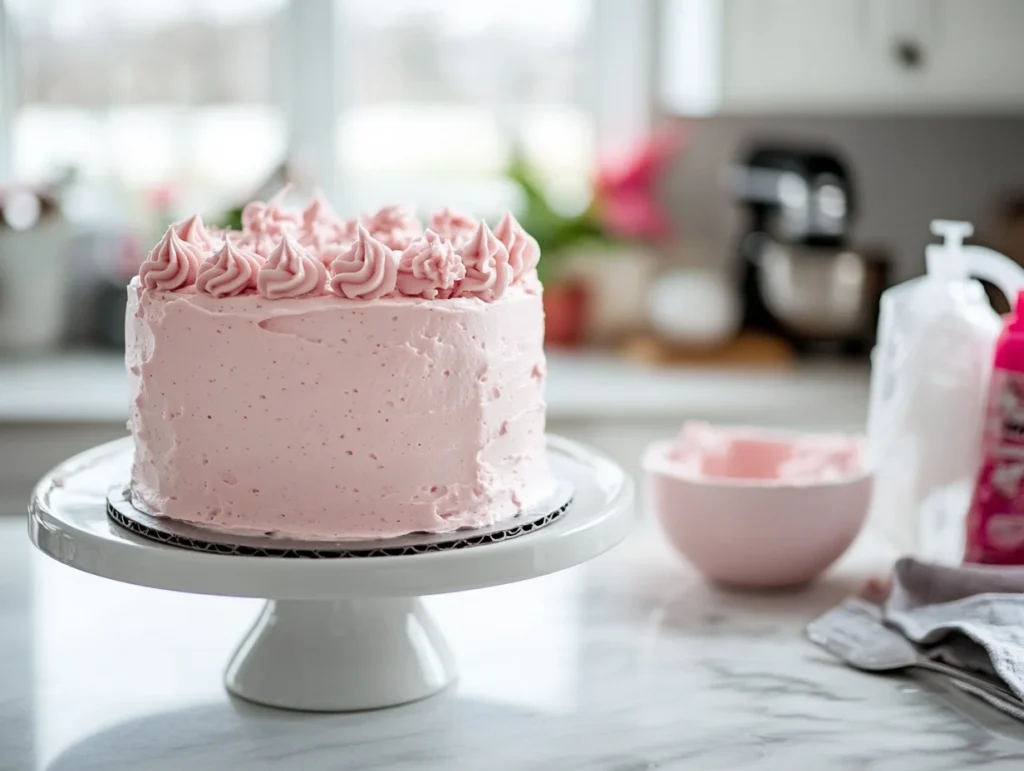
The crumb coat is an essential step for achieving a clean and polished look. It involves applying a thin layer of frosting to seal in crumbs and create a smooth base for the final decoration.
Begin by spreading a thin, even layer of frosting over the entire cake. Use a spatula to smooth it out as much as possible. Afterward, refrigerate the cake for 20-30 minutes to let the crumb coat set. This step ensures that the final layer of frosting will look flawless and professional.

Step 4: Decorating Your Barbie Cake: Tips and Tricks for a Gorgeous Gown
Finally, it’s time to bring your Barbie cake to life by decorating her gown. This is the most creative part of the process, where you can experiment with colors, textures, and patterns.
To create an ombre effect, start with a darker shade of pink at the base of the skirt and gradually lighten the color as you move upward. This gradient look is not only trendy but also adds an elegant touch. For texture, use a piping bag fitted with a star or rosette tip to add ruffles, flowers, or swirls. Additionally, sprinkle sugar pearls, edible glitter, or fondant flowers to enhance the overall look.
If you’re looking for a complementary dessert, explore this churro cake recipe to add variety to your Barbie-themed dessert table.
Creative Ideas for Customizing Your Barbie Cake
A Barbie cake offers endless opportunities for customization. Here are some ideas to make your cake truly unique and memorable:
Flavor Variations for Your Birthday Doll Cake
For a fruity twist, consider adding fresh strawberries to your batter and pairing it with strawberry frosting. Alternatively, if you’re aiming for a more sophisticated option, opt for a rich chocolate cake with gold edible decorations.
Themed Designs
If you want a royal-themed cake, consider a princess doll design with pastel shades and a small tiara. On the other hand, for a modern twist, try using complementary colors like lavender or teal to create a stunning ombre effect. For more advanced bakers, a DIY edible doll dress made of fondant can add intricate details like lace or ribbons.
Extra Details
To make the cake even more playful, consider adding marshmallow flowers or a candy necklace around the doll’s waist. Furthermore, you can experiment with edible glitter and sugar pearls to give the gown a sparkling, glamorous finish.
Pro Tips for Success
To ensure your Barbie cake turns out perfectly, follow these expert tips:
First, always cool the cake layers completely before assembling them. Warm layers are more likely to crumble and can cause the frosting to melt. Second, use a revolving cake stand to make decorating smoother and more efficient. Third, practice your piping techniques on parchment paper before applying them to the cake. Finally, refrigerate the crumb-coated cake to stabilize it before adding the final decorations.
Storing and Serving Your Barbie Cake
Once your Barbie cake is ready, proper storage is key to maintaining its freshness and flavor. Always refrigerate the cake until you’re ready to serve it. If stored properly, it will remain fresh for up to five days. For leftover slices, wrap them tightly in plastic wrap and aluminum foil before freezing. Frozen cake can last up to three months without losing its taste.

When it comes to serving size, a standard Barbie cake can serve 8-12 people, depending on the size of the layers. For a more elegant base, learn how to craft a rich pound cake that pairs beautifully with Barbie-themed decorations.
FAQs
1. Can I use any doll for a Barbie cake?
Yes, as long as the doll is clean and fits within the cake. Wrapping the doll’s legs in plastic wrap is essential for hygiene.
2. What’s the best type of frosting to use?
Buttercream frosting is the most popular choice because it’s easy to work with and holds its shape well for decorations.
3. Can I make the cake ahead of time?
Absolutely! You can bake the cake layers and frost them a day or two in advance. Add the final decorations closer to the event for the freshest look.
4. How can I achieve smooth frosting?
Dip your spatula in warm water, wipe it dry, and glide it over the frosting for a polished finish.
5. What if I don’t have a bundt pan?
No problem! You can use round cake pans and carve the layers into a dome shape to mimic the skirt.
Creating a Barbie cake is more than just baking—it’s an opportunity to unleash your creativity and make lasting memories. With this guide, you’ll be able to craft a cake that’s as delicious as it is stunning. So gather your tools, let your imagination run wild, and enjoy the process!

